We’ve written a lot about cleaning and maintaining different gas grill parts, but there’s one area of the grill we haven’t tackled yet—the lid and the inside of your grill body, also known as the cookbox.
There’s a reason people put off cleaning the inside of their grill—it’s grimy, it’s greasy, and it’s usually a bit more work than cleaning individual parts. But the cookbox and your grill lid can collect a lot of crusty gunk that can seriously impair the performance of your grill—or worse, hasten its demise.
If you’re noticing a lot of flare ups, a weird smell, or more smoke than usual, it’s time to clean the inside of your grill.
In this post, we’ll walk you through the why you should the interior of your grill, and give you a step-by-step guide for how to clean the inside of a gas grill. Let’s get started.
Why Should You Clean Inside of The Grill Lid and Burner Box?
With exposure to high heat, carbon build-up caused by grease and smoke vapor inside your grill will form deposits (known as carbonized grease) on the inside of the grill lid. These deposits will eventually peel, looking very similar to paint. While they are non-toxic, they are unsightly and they can fall onto your food and affect its appearance and taste.
Your cookbox is equally susceptible to build-up—you may not get the same kind of peeling carbon build-up in the cookbox as you’ll see on your grill lid, but grease, food drippings, and other grime will collect over time, creating a thick coating all over the inside of the grill body.
Regularly cleaning the inside of your grill prevents grease fires and flare ups, and it can also make your grill a less enticing environment for pests. But most importantly, a well-maintained grill will simply last longer. The build-up of gunk and grease can speed up the corrosion process, and once the bottom of your grill body rusts out, you’re looking at purchasing a brand new grill.
How To Clean Inside of a Gas Grill
We won’t sugarcoat it—cleaning the cookbox is no easy process. It takes time and some serious elbow grease, but with a bit of effort you can return your grill to its shiny, good-as-new glory.
1. Get your supplies ready
Step one is to collect all of your cleaning supplies. The last thing you want is to have to run around looking for a clean cloth when you’re elbow deep in carbon build-up.
Gather these supplies:
- Rubber gloves
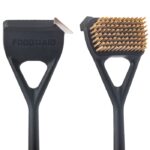
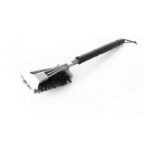
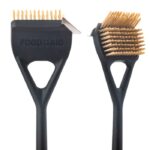
- A grill brush
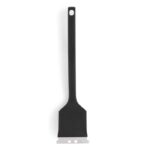
- A scraper or putty knife (not metal to avoid scratching the grill body)
- At least 2 clean cloths or rags—we recommend cloths you can dispose of after you clean; chances are, you won’t want to use them again
- Dish soap and water mixture (20% dish soap, 80% water)
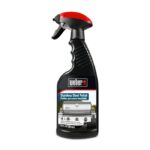
- Vinegar and water mixture (equal parts vinegar and water), or specialty grill cleaner
- 2 buckets or large containers of clean water—one for a first rinse of your cloth or brush, and one for a second rinse. The first bucket will get pretty dirty, but the second will provide a cleaner rinse.