When a member of the Grill Spot content team received a free (but very rusty) gas grill from her local Buy Nothing Project group, we knew we had to document and share the process of restoring this not-so-old-but-never-been-cleaned barbecue to its original grill glory.
Whether you’re the lucky recipient of a free grill or you’re finally getting down to the business of deep cleaning your own rusty barbecue, rust doesn’t always signal the end of a grill’s life. Even if your grill seems rusted beyond repair, don’t despair—there’s a good chance your rusty grill is entirely repairable with a bit of elbow grease and some replacement parts.
From dismantling the rusted components to scrubbing and scraping off years of grime, we’re sharing the nitty-gritty details of our restoration process. Join us on our barbecue resurrection journey as we dig deeper into how to restore a rusty grill.
About the Grill
The grill in question—a Cuisinart Gourmet 600B 3-burner propane grill—was described as fully functional but with rusted heat plates that resulted in regular flare-ups. Armed with a trove of grill repair knowledge, we knew this should be a speedy and simple fix and jumped at the opportunity to snag an easily repairable barbecue for free.
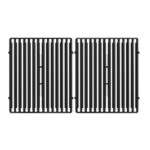
A quick inspection confirmed that the heat plates were so corroded they were literally crumbling to pieces, and the cooking grates were also past their prime. No problem—replacing grill grates is as easy as removing the old ones and setting in new ones. The grill was ours!
The next step was moving the grill to its new home. For our intrepid griller, driving a cargo van and moving the barbecue was the hardest part of the grill revival process. Not sure how to transport a grill? Read our How to Move a Grill guide.
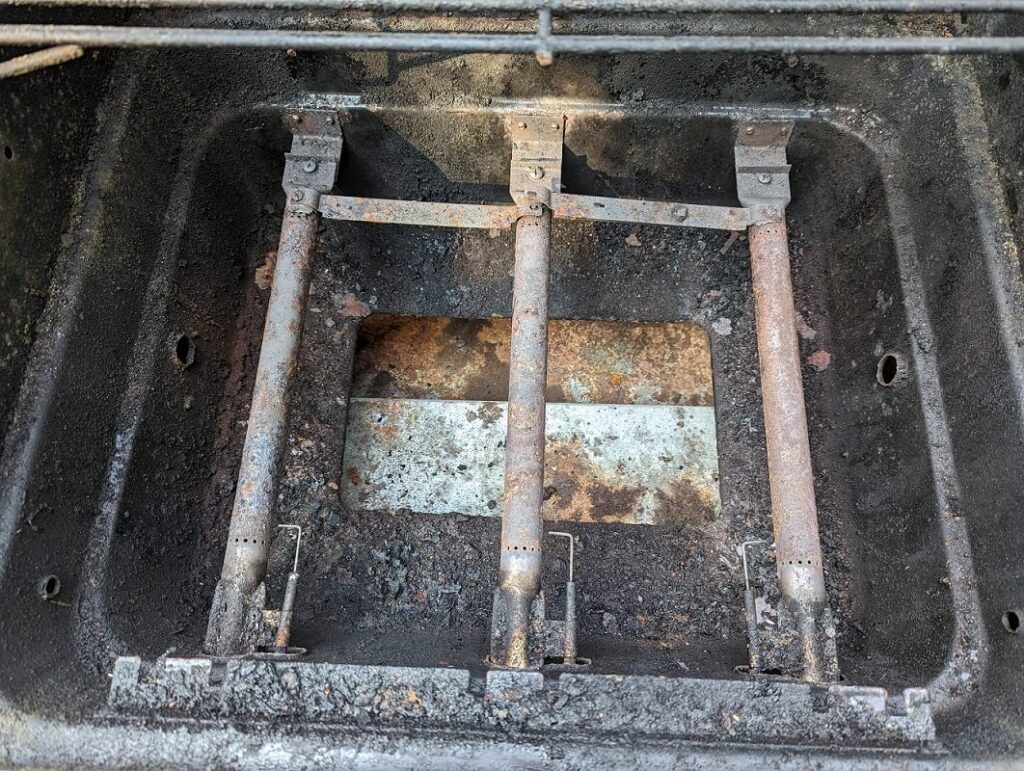
We conducted a more thorough inspection after getting the grill home, and at first it looked as though the entire grill bottom had rusted out.
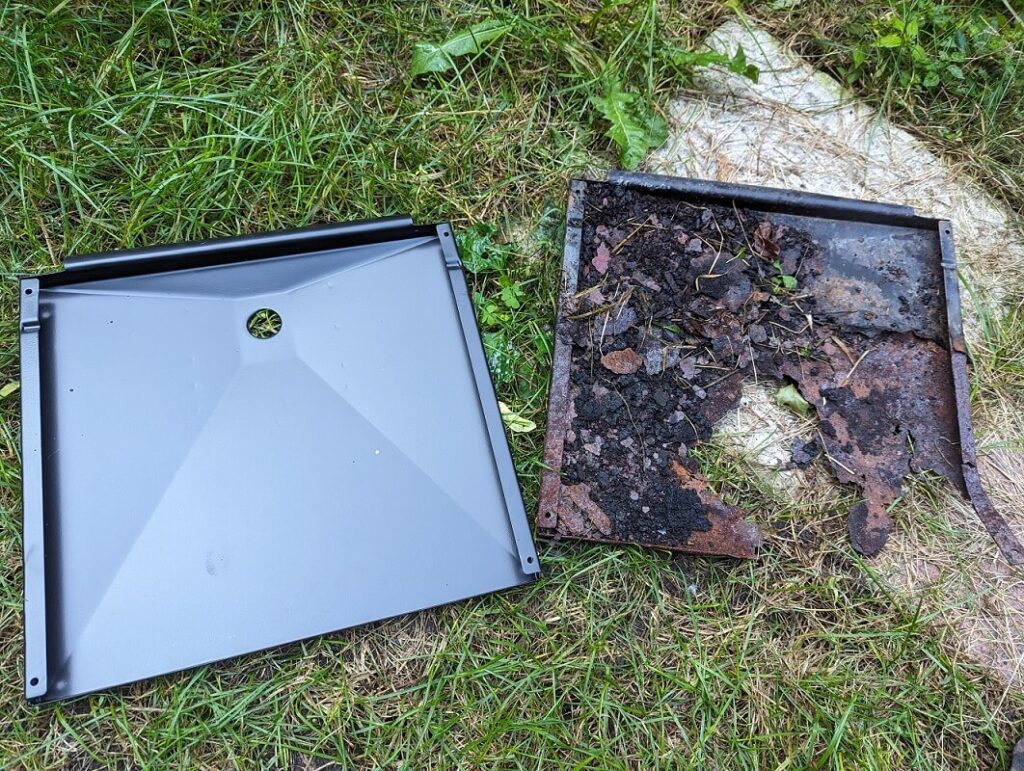
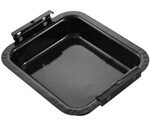
But with the help of Grill Spot’s grill experts, we were able to determine that the grill bottom was fully intact and it was only the grease tray—another easily replaceable grill part—that was falling apart. And so we began the grill resurrection process!
GRILL SPOT TIP: While most rusty grill parts can be cleaned or replaced, a rusty grill bottom generally isn’t fixable and usually means it’s time for a new BBQ.
How to Restore a Rusty Grill
Our rusty grill resurrection involved two key phases:
A (very) thorough cleaning. While the barbecue was only a couple of years old, it had been stored over winter without cleaning, and it looked as though the grill body had never been cleaned during the lifespan of the grill.
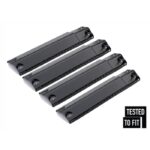
Replacing parts. All in all, we replaced the heat plates, cooking grates, and grease tray.
Let’s dig into the process.
Phase 1: Cleaning the Grill
Armed with nothing but simple household cleaners and a few tools, we got to work. Here’s what we used to deep clean the grill:
Remove all the old parts. Out came the rusty grill grates, warming rack (which was still in good shape), and decomposing heat plates. Unfortunately, the burners were fully rusted into position and couldn’t be removed for cleaning. On this model of Cuisinart barbecue, the burners are secured into place with screws, and the rusty screws fell apart the moment we attempted to loosen them. Since the burners were still structurally sound, we opted to leave them in place without cleaning them. We predict they’ll need replacing in the next year or two.
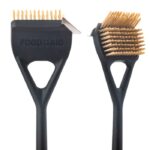
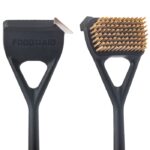
Clean the warming rack. The warming rack only had surface rust that came off easily with just one or two rounds of washing with vinegar and dish soap. To clean it, we sprayed the rack with vinegar-water solution, let it sit, then scrubbed it with our FoodAid grill brush.
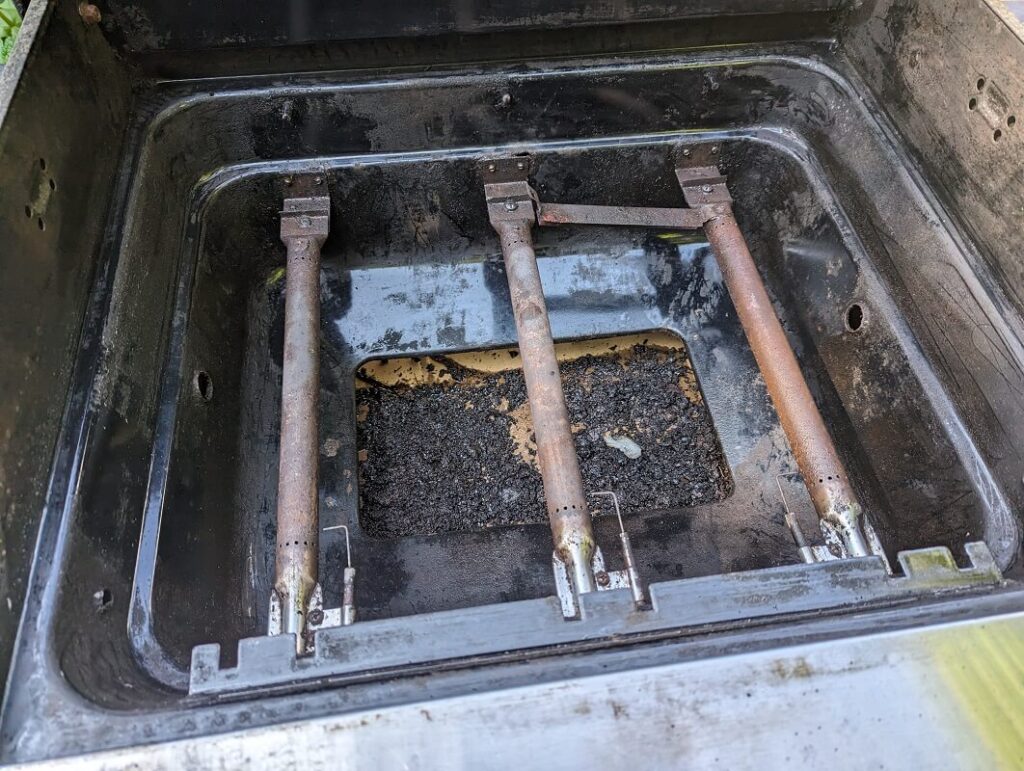
Scrub the grill body—and we mean scrub. And scrape. The grill box was another matter entirely. It took several rounds of spraying the baked on carbon buildup with vinegar and water, letting it sit, then scraping it off with the scraper, followed by a layer of dish soap and more scraping, before the grill body was clean. This part of the process took about 2 hours from start to finish, but eventually, all of the cooked on crud (or at least most of it) was scraped away and the grill body was more or less clean and shiny.
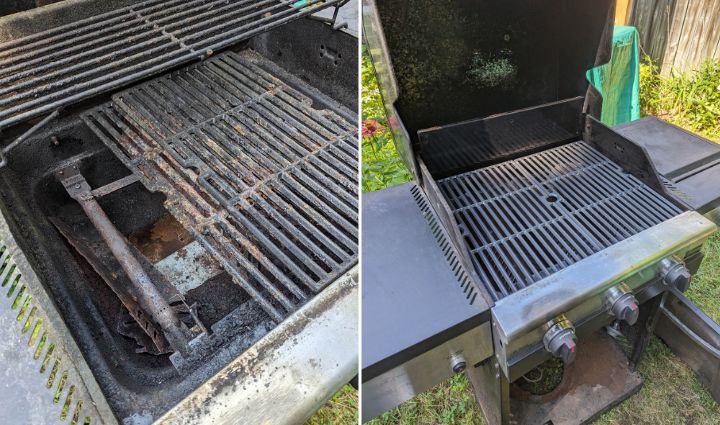
Before
After
GRILL SPOT TIP: If you have a lot of build-up to remove, slide a piece of cardboard into the grease tray slot to catch all the scraped off gunk. When you’re done scraping, simply remove the cardboard and toss.
With the manual labor out of the way, it was time for the next (and easiest) step in the rusty BBQ restoration process: replacing the parts.
In this case, all that was needed was to remove the old rusted parts and pop in the new ones. This included three new heat plates, two new cooking grates, and a new grease tray. With the new parts in position, the grill looked as good as new!
After two hours of diligent scrubbing and scraping, we had a functional grill! The gas line was flowing and the igniter was clicking, but because the burners could not be cleaned, lighting the grill posed some difficulty. How do we know it’s the burners causing the problem?
The burners need a thorough cleaning, but we couldn’t remove them to properly clean out the ports and remove any remaining food gunk.
The gas works. We can smell it when the burners are on (but not lit), and the gas flow is also audible.
The igniter works. It clicks repeatedly when the button is pressed and occasionally the grill will light, but a barbecue lighter has proven to be more reliable.
We christened our newly functional grill with a barbecue classic—burgers.
How Much Did It All Cost?
All in, resurrecting this grill ran a bill of about $170:
Cargo van rental: $30
Heat plates: 3 plates at $20, for a total of $60
Cooking grates: 2 grates at $28 per grate, for a total of $56
Grease tray: $20
For a grill that originally sold for over $450, a $170 repair bill is a small price to pay!
Get Grilling
Rust doesn’t have to signal the end of your grill’s lifespan. All we needed to revive a neglected rusty BBQ were some basic household cleaning products, elbow grease, and a couple of easy-to-install replacement grill parts.
With new heat plates, cooking grates, and a grease tray, our once-neglected grill emerges as a shining example of how a little effort, combined with quality replacement parts, can bring a rusty grill back to life. So, whether you’re a lucky recipient of a free grill or tackling the challenge of rejuvenating your own rusty companion, with a bit of effort and our expert tips, you can turn a seemingly worn-out grill into a backyard masterpiece.
Happy grilling!
Shop for replacement parts and grill cleaning supplies: